Page 4 sur 6
Re: Premiére construcion de guitarre
Posté : mer. 6 juil. 2011 20:40
par Melody
Necromagnon a écrit :tetiaroa a écrit : because in school I learn mechanics, it was simple for me to work with tools,
I studied mechanics too, but it didn't make my guitars good... :?
:mrgreen:
Your guitars a great Necro (I also study mechanics with electronic.. Boring :mrgreen: But L
earnI
tY
ourself is great!)
Anyway, I like that neck, with 2 wengue pieces. (I'll make that on one of my next guitar..).
And the tools you've made looks good :linux:
And for the title, you should change : "Première construction de guitare" or just write it in english

Bon ok je parle pas bien anglais, je l'avoue.

Re: Premiére construcion de guitarre
Posté : mer. 6 juil. 2011 20:41
par tetiaroa
Melody a écrit :Necromagnon a écrit :tetiaroa a écrit : because in school I learn mechanics, it was simple for me to work with tools,
I studied mechanics too, but it didn't make my guitars good... :?
:mrgreen:
Your guitars a great Necro (I also study mechanics with electronic.. Boring :mrgreen: But L
earnI
tY
ourself is great!)
Anyway, I like that neck, with 2 wengue pieces. (I'll make that on one of my next guitar..).
And the tools you've made looks good :linux:
And for the title, you should change : "Première construction de guitare" or just write it in english
Bon ok je parle pas bien anglais, je l'avoue.
Ok

Re: Premiére construcion de guitarre
Posté : mer. 6 juil. 2011 20:55
par tony14
Bon, il commence a m’énerver celui là. :mrgreen:
Déjà, je suis obligé de relire 2 fois ses posts pour comprendre... :prr:
En plus , il s'est fait une superbe gratte, avec des pseudos outillages de compet' très loin du clodo DIY.
tetiaroa, respect..

Re: Premiére construcion de guitarre
Posté : mer. 6 juil. 2011 20:57
par Necromagnon
Je ne vois pas de problème avec le titre. :wink:
tetiaroa: si tu veux continuer à t'exercer au français, ne te prives pas.
:wink:
Melody: merci, mais tu ne les as pas vu de près, c'est pour ça... :siffle:
Re: Premiére construcion de guitarre
Posté : mer. 6 juil. 2011 21:01
par tetiaroa
Re: Premiére construcion de guitarre
Posté : mer. 6 juil. 2011 21:17
par Pedro
Necromagnon a écrit :Je ne vois pas de problème avec le titre. :wink:
La faute sur "construction", peut être ? :siffle:
Re: Premiére construcion de guitarre
Posté : mer. 6 juil. 2011 21:54
par ludobag
:app: i like the way where this thread is going
really less boring than only a finish guitar (even if it is beautiful :prr: )
thid radius cal is the clever i saw at this time :linux:
i have one to do for 7.25 radius then i think i will go with one like this (all radius can be done

with only ajustement of the screws :viking: )
Re: Premiére construcion de guitarre
Posté : mer. 6 juil. 2011 22:15
par tetiaroa
ludobag a écrit ::app: i like the way where this thread is going
really less boring than only a finish guitar (even if it is beautiful :prr: )
thid radius cal is the clever i saw at this time :linux:
i have one to do for 7.25 radius then i think i will go with one like this (all radius can be done
with only ajustement of the screws :viking: )
You just draw the desire radius on paper, then put the call on top, and turn the screws until you get what you want

Re: Premiére construcion de guitarre
Posté : mer. 6 juil. 2011 22:58
par tetiaroa
Re: Premiére construcion de guitarre
Posté : jeu. 7 juil. 2011 00:09
par guyzard
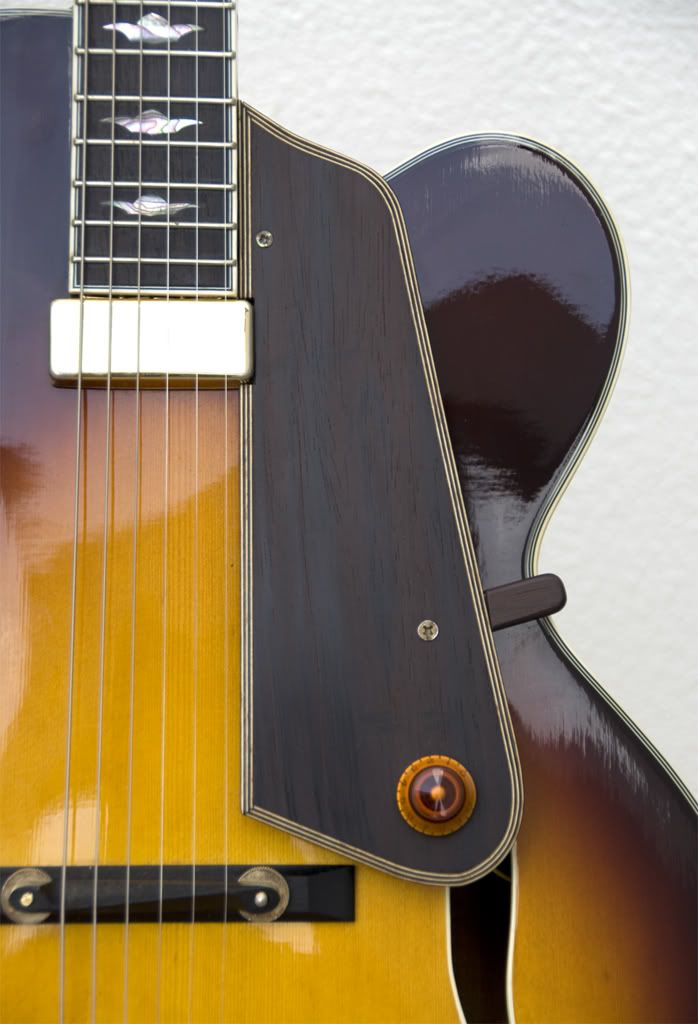
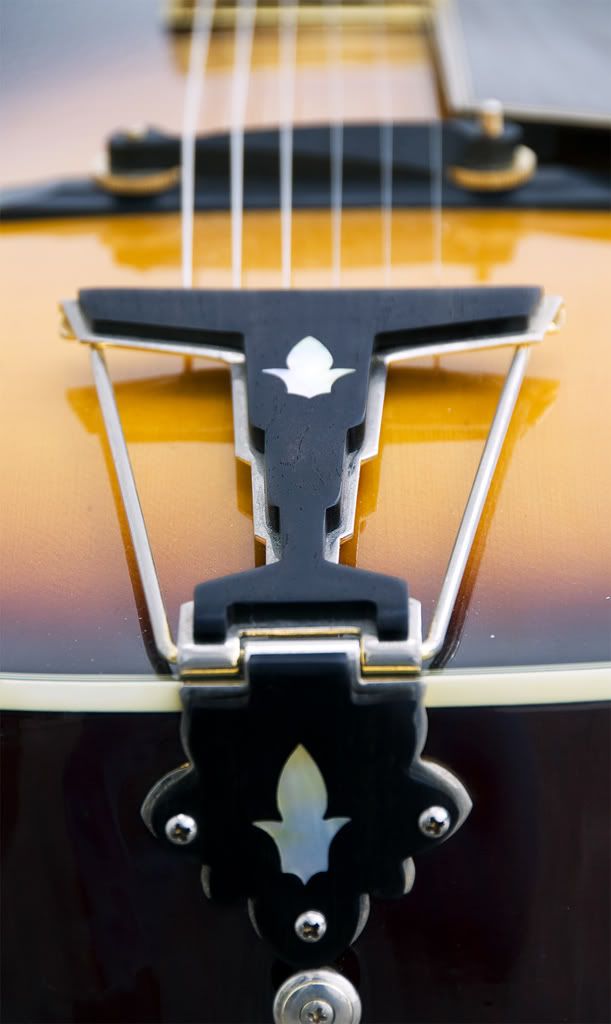
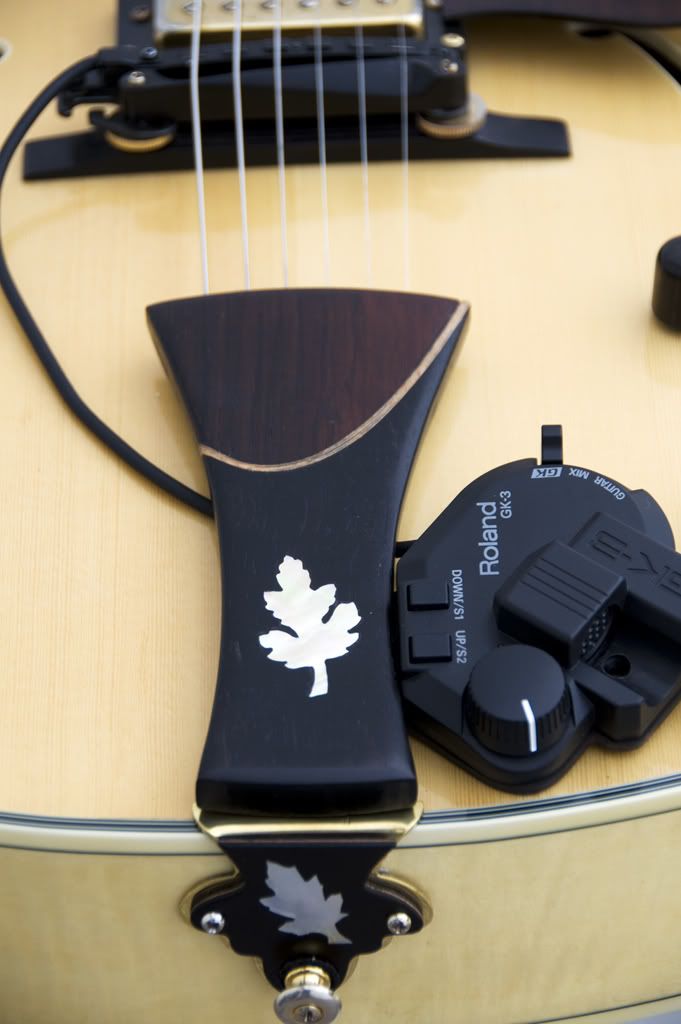
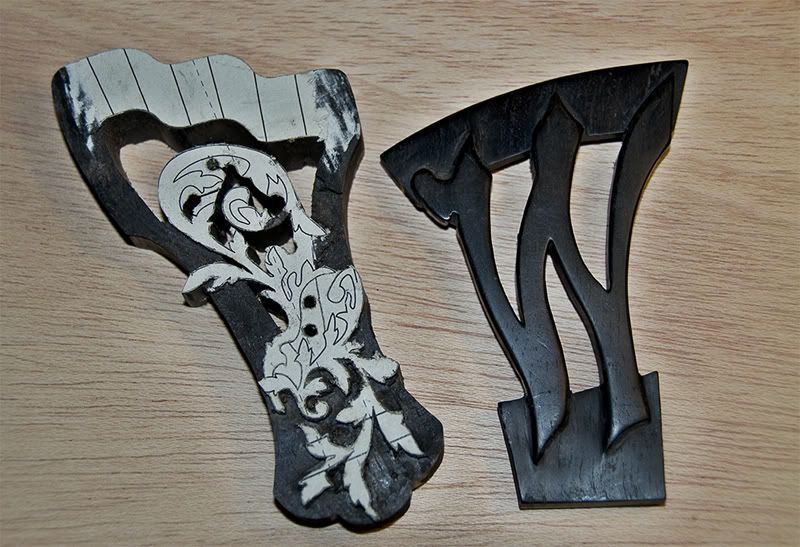
Your other pieces (bridge, tailpiece, etc...) are impressive

I really like their look and their design.
Great job, show us a lot of new photos !!
Re: Premiére construcion de guitarre
Posté : jeu. 7 juil. 2011 04:13
par Necromagnon
Pedro a écrit :Necromagnon a écrit :Je ne vois pas de problème avec le titre. :wink:
La faute sur "construction", peut être ? :siffle:
et celle sur "guitare" alors? :siffle:
:prr:
:mrgreen:
You seems to be weel equiped... (without any misunderstanding... :snif: :siffle: )
For the radius cal, don't there any problems with small radius with the screw and their holes? Because when the radius becomes smaller, the angle between the two sides become very important?
Btw, it's a very great invention (evenif it's not yours :mrgreen: )
Re: Premiére construcion de guitarre
Posté : jeu. 7 juil. 2011 07:49
par tetiaroa
To get a smaller radius without having bend problems on the radius cal, depend how deep you cut the slots on the base, or the material bending capabilities that you use for the base.
I have a friend that made one out of plexiglass and he did not made any slots, and works fine.
Because this his my first build, I've tried to get the most information possible out there on the web, I even bought the Robert Bennedetto book and 4 DVD's collection "Archtop Guitar Design and Construction" these are very instructional DVD's I've learned a lot, and of course here in this Forum where I found great ideas :photo:
Re: Premiére construcion de guitarre
Posté : jeu. 7 juil. 2011 10:35
par tetiaroa
So, lets cut the other back cavities
I've used a Plexiglas template to cut the electronic cavitie that I've bought at Stewmac.
If I new it earlier I'd would make one because the amount of electronic stuff that I've used is to much for the space


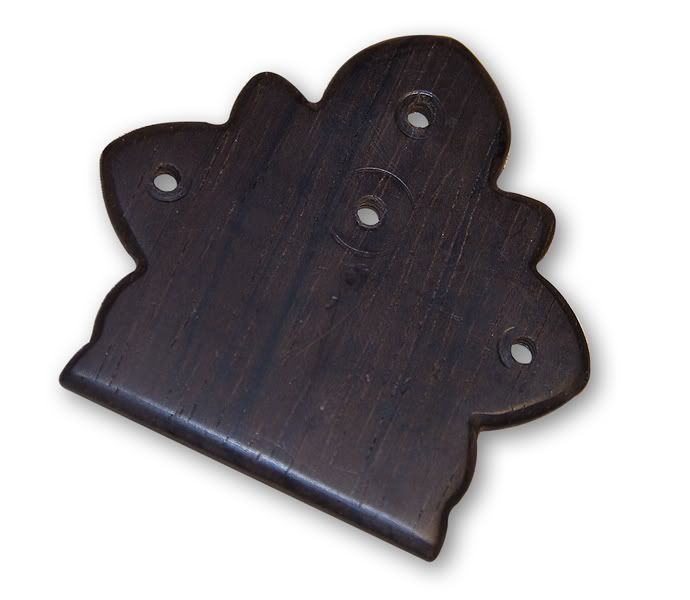
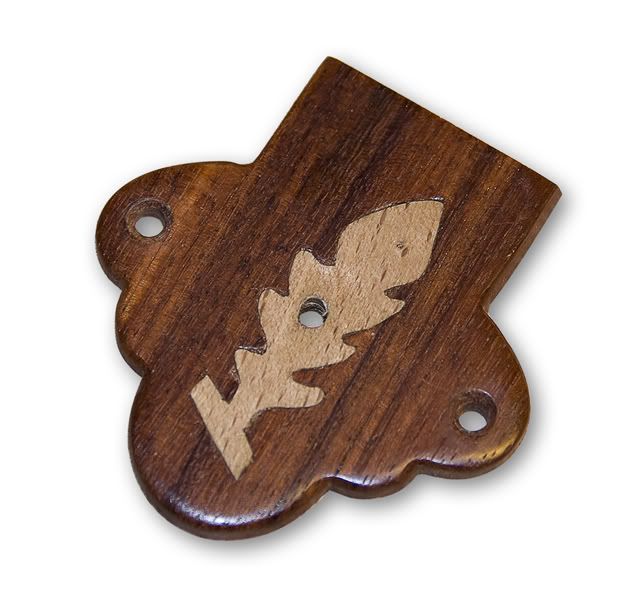
Then I've cut the cavity cover


and I got a real snug fit

Headstock drilled


I didn't know how to drill accurately the headstock because with one hand I needed to
hold the neck, with the other hand the drill, and I've missed another hand to switch it on
so I build this small contraption to help me use the foot instead the and
I've glued a small aluminum lever on to the switch
Know I can switch the drill with my foot

Re: Premiére construcion de guitarre
Posté : jeu. 7 juil. 2011 12:34
par Enrico
Plein de bonnes idées, cette fabrication :app:
La cale à radius, j'ai déjà vu ce concept ailleurs (le bouquin de Koch peut être), mais je ne retrouve pas. En tout cas c'est un bel exemplaire.
Mon montage préféré reste celui de la commande au pied

Sinon, tetiaroa, tu pourras faire un résumé (
comme celui-là) pour que l'on référence ta réalisation dans l'index.
N'rico
Re: Premiére construcion de guitarre
Posté : jeu. 7 juil. 2011 12:43
par tetiaroa
Enrico74 a écrit :Plein de bonnes idées, cette fabrication :app:
La cale à radius, j'ai déjà vu ce concept ailleurs (le bouquin de Koch peut être), mais je ne retrouve pas. En tout cas c'est un bel exemplaire.
Mon montage préféré reste celui de la commande au pied
Sinon, tetiaroa, tu pourras faire un résumé (
comme celui-là) pour que l'on référence ta réalisation dans l'index.
N'rico
Ok, good idea

I'm going to make one index.
Re: Premiére construcion de guitarre
Posté : jeu. 7 juil. 2011 13:25
par tetiaroa
Ok lets continue
The thing that really put a mark in my life was 68 days that I've spent in French Polinesia,
I was overwhelmed by its beauty and people, and I wanted to put a symbol in my first guitar to remind me of it.
So I've cut Bora-Bora profil in MOP and inlay it on the 12 fret.


then I've cut the rest of the neck slots with my jig to received abalone stripes that I've bought
in Stewmac


I was a bit scared because I didn't wont to make a mess ruining the ebony scale
but every thing went OK


and glue it all down


...after sand it....


Re: Premiére construcion de guitarre
Posté : jeu. 7 juil. 2011 15:48
par tetiaroa
Another jig that I've made that works with no effort and save me a lot of money, a "FRET BENDER"
on the back I've inlayd a peace of aluminum to reinforce the screw notch and had some rigidity


and a "FRET FILE"
I've cut a slot with an angle of 30º on the table router on a peace of beachwood
and place it in a file.
To avoid drag and damage the frets, I've place two peaces of slippery plastic stripe
works like a charm

Re: Premiére construcion de guitarre
Posté : jeu. 7 juil. 2011 20:27
par Khassam
J'aime beaucoup ta lime à bouts de frettes (fret file), tes outils faits-maison sont eux aussi très bien réalisés !
Oh by the way, I was just joking yesterday when asking about real first guitar building, I never thought you were lying !
Re: Premiére construcion de guitarre
Posté : jeu. 7 juil. 2011 20:37
par tetiaroa
Khassam a écrit :J'aime beaucoup ta lime à bouts de frettes (fret file), tes outils faits-maison sont eux aussi très bien réalisés !
Oh by the way, I was just joking yesterday when asking about real first guitar building, I never thought you were lying !
Don't bother
I understand,. cool.....
Re: Premiére construcion de guitarre
Posté : jeu. 7 juil. 2011 20:53
par jipé
La faute sur "construction", peut être ?
Si notre ami est Espagnol , ça peut s'expliquer .
En tous cas , c'est du beau boulot , et il y a plein d'astuces intéressantes
:app: